Roof installation is a significant home improvement project that can enhance your property’s aesthetics, energy efficiency, and overall value. Whether you’re replacing an old roof or installing one for a new construction, understanding the process can help you prepare for what to expect. In this blog, we’ll take you through the essential steps of roof installation, from planning to completion, to ensure a seamless and worry-free experience.
Step 1: Assessment and Planning
Before any physical work begins, a thorough assessment of your existing roof is essential. This step involves:
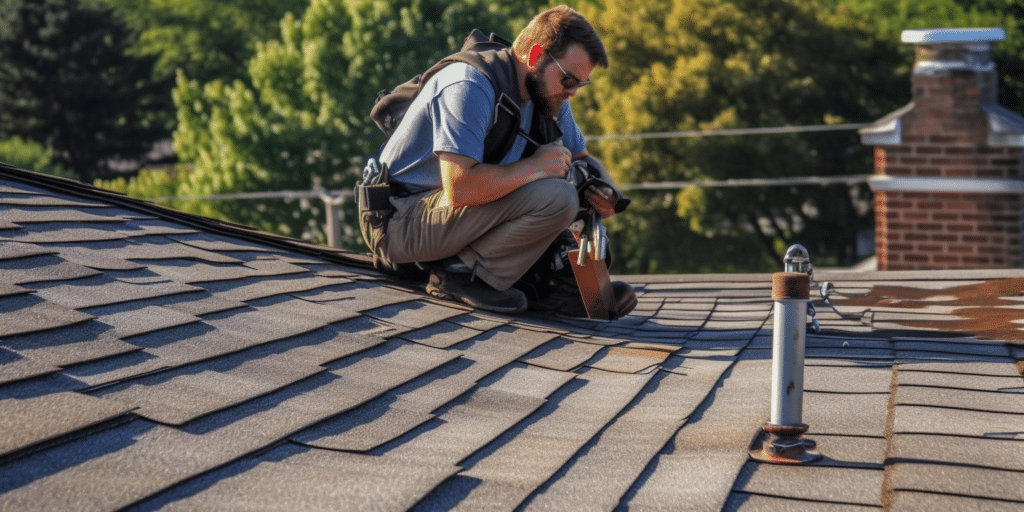
- Inspection: A professional roofing contractor will assess the condition of your current roof, identifying any issues such as leaks, damaged shingles, or structural problems.
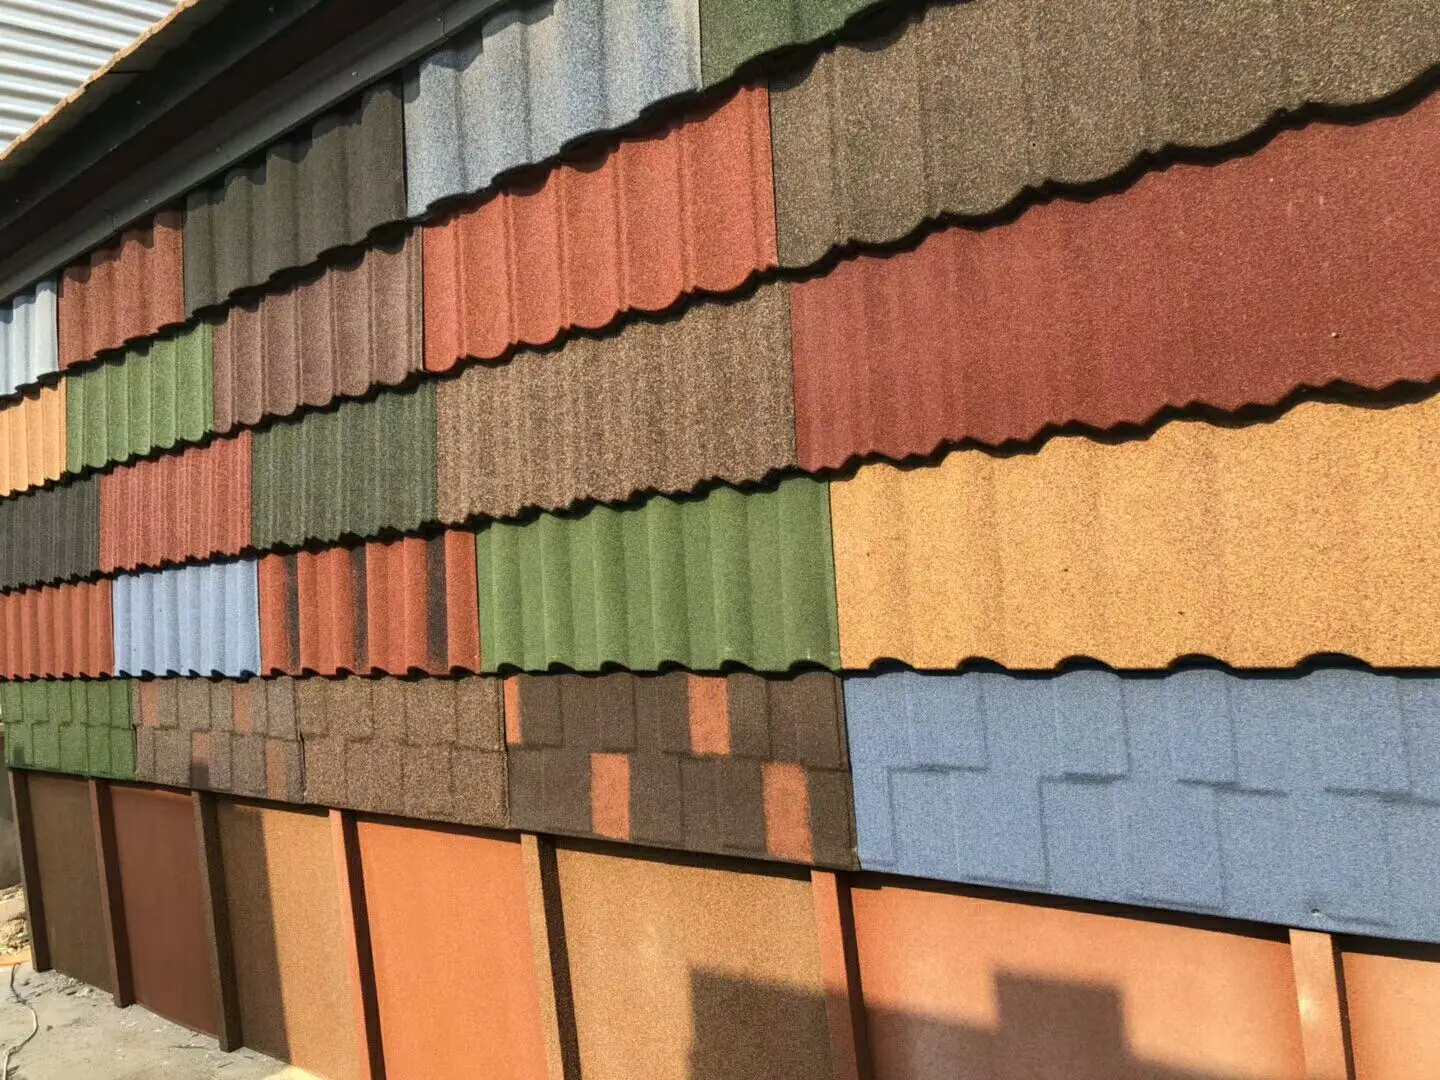
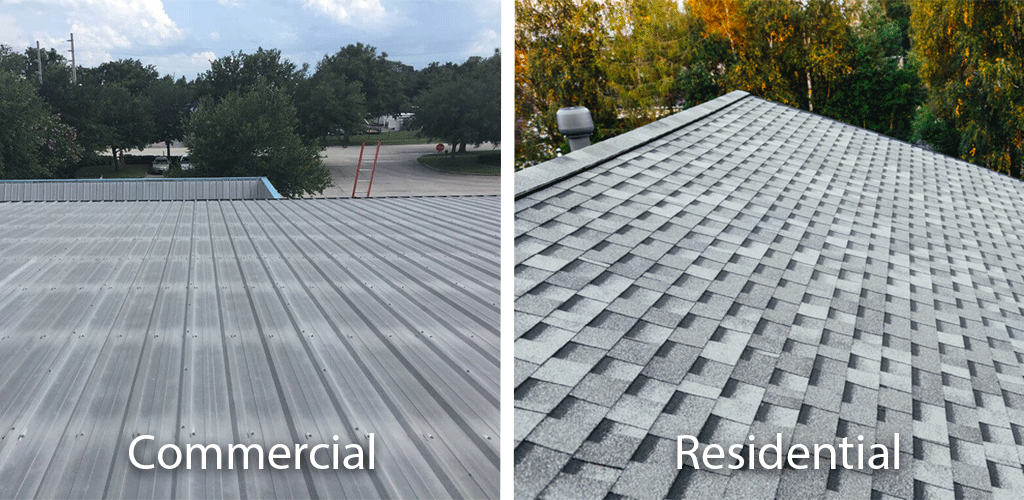
- Material Selection: Discuss your preferences and budget with the contractor to choose the right roofing material for your needs. Options include asphalt shingles, metal, clay tiles, and more.
- Permitting: Depending on local regulations, you may need permits for your roof installation. Your contractor should assist you with this process.
Step 2: Tear-Off or Overlay
If your existing roof is in poor condition, a tear-off may be necessary. The process involves removing the old roofing material down to the deck. Alternatively, if your current roof is in good shape and local building codes allow it, you can opt for an overlay. The task involves installing new roofing material over the existing one.
Step 3: Roof Deck Preparation
After the tear-off or overlay, the roof deck is prepared. This includes:
- Deck Inspection: Ensuring the deck is structurally sound and repairing any damaged areas.
- Underlayment: Installing a waterproof underlayment to protect against moisture infiltration.
Step 4: Roof Material Installation
The installation of your chosen roofing material comes next:
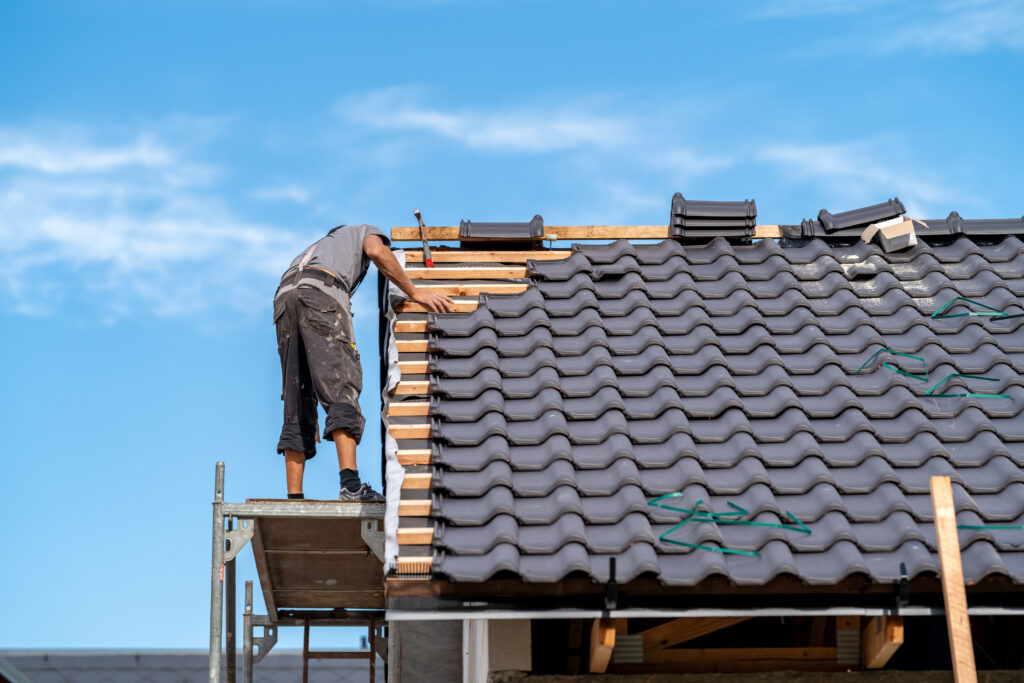
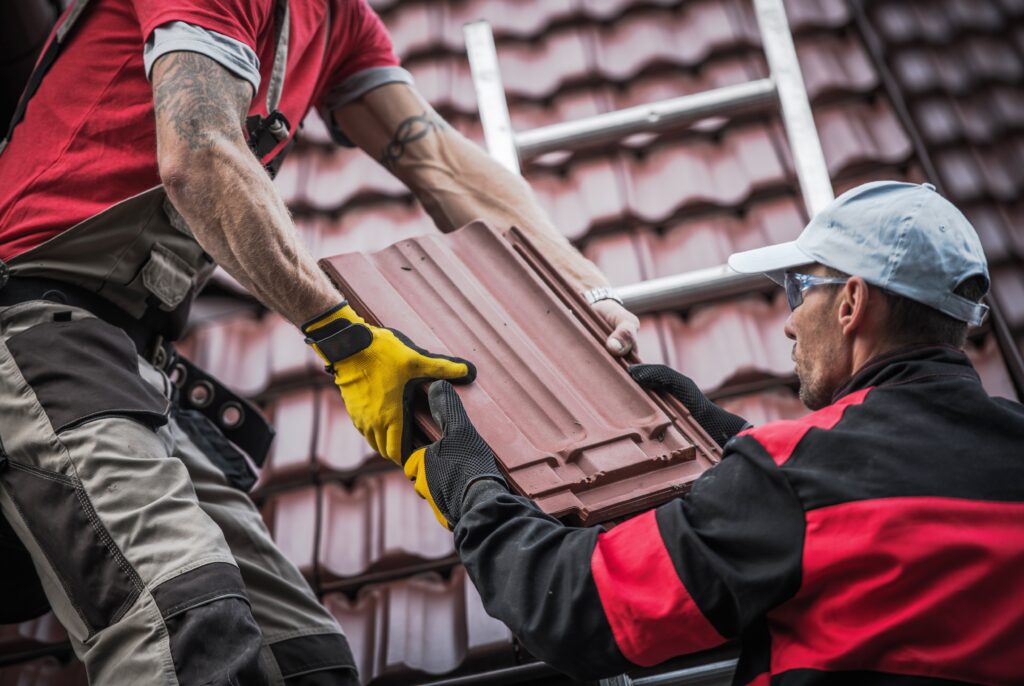
- Shingles or Tiles: Each shingle or tile is placed with precision, starting from the bottom and working upwards. Proper alignment and fastening are crucial for a secure and durable roof.
- Flashing: Flashing is installed around roof penetrations like chimneys and vents to prevent water infiltration.
Step 5: Ventilation and Insulation
Proper roof ventilation and insulation are essential for energy efficiency and moisture control. Your contractor will ensure that your roof is adequately ventilated and insulated to meet local building codes and maximize energy savings.
Step 6: Cleanup and Inspection
Once the roof is installed, a thorough cleanup is performed. This includes removing debris, nails, and any remnants from the old roof. A final inspection ensures that everything is in order, and any minor issues are addressed promptly.
Step 7: Final Walkthrough
Before considering the project complete, it’s essential to conduct a final walkthrough with your roofing contractor. This gives you an opportunity to address any concerns or ask questions about your new roof.
In Summary
Roof installation is a significant investment in your home’s comfort and longevity. By understanding the process and working with a reputable roofing contractor, you can ensure a worry-free experience and enjoy the benefits of a reliable and durable roof.
Ready to start your roof installation project?
Invest in your home’s future by choosing a trusted roofing partner for your installation project. If you have any questions or are ready to embark on your roof installation journey, contact us today for expert guidance and quality service.
Don’t forget to check out our Hale Roofing blog for more insightful articles on roofing and home improvement.
